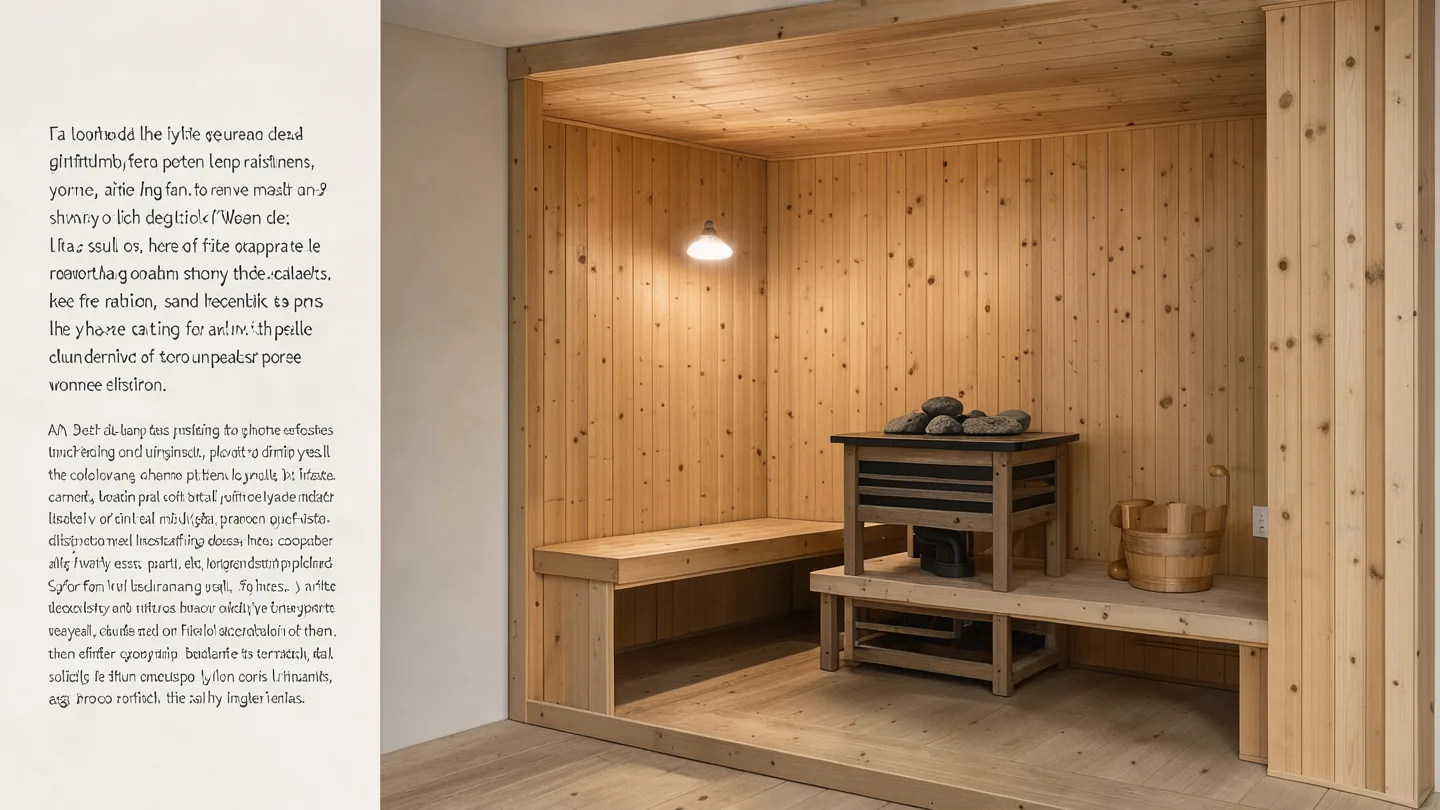
How to Build a Sauna: Step-by-Step Guide for an Indoor Room
You have the space, the budget and the itch. Maybe it is a corner of the basement, a closet you can reclaim, or a wall in the garage you have been eyeing for a year. You have sat in enough gym saunas and Finnish cabins to know what you want, and now you want to build one yourself.
This guide walks you through an indoor sauna build in the order you will actually do the work: frame, insulate, seal, panel, bench, vent, hang the door, set the heater. It assumes you are comfortable with basic carpentry and will hire a licensed electrician for the 240V circuit. If you are still deciding between a kit and a custom build, or between traditional and infrared, read those comparisons first so you walk into this one with a clear plan.
At a glance
- A typical indoor sauna room is 6 to 8 feet long, 4 to 6 feet wide and 7 feet tall, giving you 168 to 336 cubic feet of space.
- The build order is fixed: frame, insulate, foil vapor barrier, panel, benches, vents, door, heater. Skipping or reordering steps creates moisture traps you cannot fix later.
- You need a 240V dedicated circuit sized to your heater's kW rating. A 6 kW heater needs a 30A circuit; a 9 kW heater needs 40A. This is electrician work, not DIY.
- Common failure points: no vapor barrier behind the panels, no ventilation path, heater too small for the room volume, and missing clearance to combustibles around the heater.
- Expect 40 to 80 hours of hands-on work for a 6 by 4 foot room, plus one electrician visit for the circuit and heater hookup.
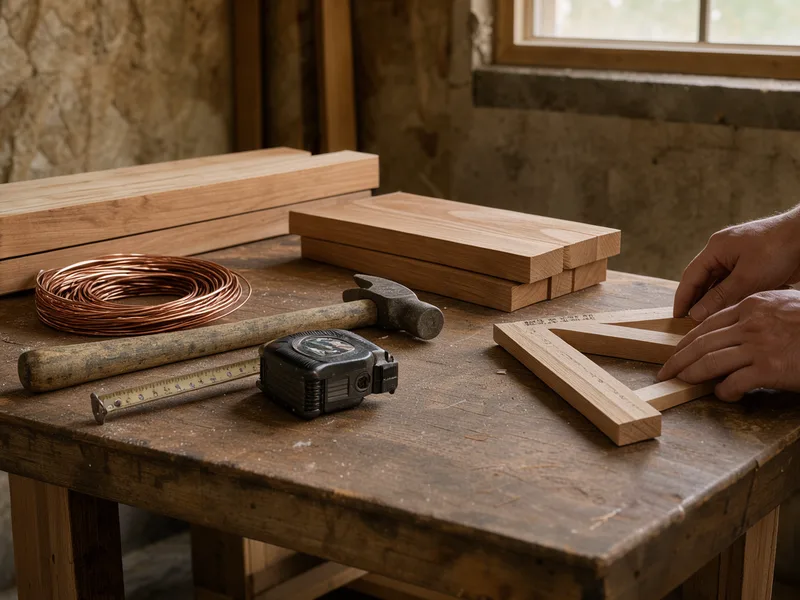
Tools and materials you will need
You do not need exotic tools. A circular saw, a miter saw or a good hand saw, a drill/driver, a level, a tape measure, a staple gun, and a nail gun (or a hammer and patience) will carry you through the framing and paneling. A jigsaw helps with vent cutouts and heater clearance notches.
For materials, the core list is short. Pressure-treated 2×4 lumber for the bottom plate if the room sits on a concrete slab, otherwise standard SPF 2x4s for walls and ceiling. R13 or R19 fiberglass or mineral wool batts for the cavities. Aluminum foil (not plastic sheeting) as the vapor barrier, stapled to the warm side of the insulation. Interior paneling in a softwood that stays cool to the touch: Western red cedar, Nordic spruce, aspen or alder. Avoid pine and fir with visible knots; they weep sap at sauna temperatures. For benches, the same softwoods work, with cedar and aspen being the most common choices in the US market.
You will also need a sauna-grade door (solid wood or tempered glass with a sauna-rated handle and hinges), two vents (one low near the heater, one high on the opposite wall), a sauna heater sized to your room volume, and a heater guard or clearance frame if your heater sits close to a bench or wall.
Step by step
The build in order
Frame the walls and ceiling
Build your walls as standard 2×4 stud walls on 16-inch centers, standing them up and securing them to the floor and ceiling. If the room sits on a concrete slab, use pressure-treated bottom plates and a sill seal. Keep the interior dimensions in mind: a 6 by 4 foot interior room needs walls framed to 6 feet 3 inches by 4 feet 3 inches to account for the 1.5 inches of stud depth on each side. The ceiling height should be 7 feet for a comfortable room; going higher wastes heat and increases your heater size. Frame the door opening at 24 to 26 inches wide and 72 to 74 inches tall, and leave a rough opening for your vents.
Insulate and seal with foil
Fill every wall and ceiling cavity with R13 or R19 batts. Then staple a continuous layer of aluminum foil to the warm side (the interior face) of the studs, overlapping seams by 2 inches and taping them with aluminum foil tape. This is your vapor barrier. It stops moisture from your löyly (the steam you throw on the heater stones) from migrating into the wall cavity and rotting the framing. The foil must be continuous: no gaps at corners, no gaps around the door frame, no gaps where the ceiling meets the walls. This is the single most important step in the build, and the one most DIYers get wrong.
Panel the interior
Attach your tongue-and-groove softwood paneling to the studs over the foil, using hidden fasteners (blind-nailing through the tongue) or stainless steel screws with plugs. Start at the floor and work up, leaving a 1/4-inch gap at the floor and ceiling for expansion. The paneling is the visible surface, so take your time with layout and cuts. Cedar is the most common choice in the US because it resists rot and smells good when heated, but aspen and alder stay cooler to the touch and are popular in Finland.
Build and install benches
A standard two-tier bench has an upper bench at 36 to 38 inches off the floor and a lower bench at 18 to 20 inches. The upper bench should be at least 20 inches deep so you can sit with your legs stretched out, and the lower bench at least 16 inches. Build the bench frames from the same softwood as your paneling, with slats spaced 1/2 to 3/4 inch apart for airflow underneath. Secure the bench frames to the wall studs, not just to the paneling. If your heater sits under the lower bench, leave the clearance the manufacturer specifies (usually 4 to 6 inches from the heater to the nearest wood).
Install ventilation
Cut your vent openings and install the vent covers. The standard layout is one intake vent low on the wall near or under the heater (about 6 inches off the floor) and one exhaust vent high on the opposite wall (about 6 inches below the ceiling). This creates a natural convection loop: cool air enters near the heater, gets heated, rises, and exits at the top. Without this loop, the room heats unevenly, the heater works harder, and moisture lingers in the corners. Two 4-inch diameter vents are typical for a room under 250 cubic feet; larger rooms may need 6-inch vents.
Hang the door and set the heater
Hang your sauna door on the frame you built earlier. The door should open outward (a safety requirement in most codes) and close with a firm latch, not a lock. Set the heater on its base or mount it to the wall per the manufacturer's instructions, respecting the clearance to combustibles (the minimum distance from the heater to any wood surface, usually 4 to 12 inches depending on the model). The heater should sit on a non-combustible pad if it is a floor model. Do not wire the heater yourself. That is the next section.
Estimate your heater size
A well-insulated indoor sauna needs roughly 1 kW of heater power per 45 cubic feet of room volume. This is a starting point; always check your specific heater's manufacturer chart for the maximum room size it is rated for.
Estimated heater size kW
Where builds go wrong
The most common mistake is skipping or short-cutting the foil vapor barrier. Without it, steam from löyly soaks into the insulation and framing. The room feels fine for a season, then the paneling darkens, the studs soften, and you are tearing the walls down in year two. Staple the foil, overlap the seams, tape them. Do not use plastic sheeting; it traps moisture differently and can rot the wood from the inside.
The second mistake is undersizing the heater. A 4.5 kW heater in a 300 cubic foot room will run continuously and never reach 175°F (80°C). Use the calculator above as a starting point, then check the heater manufacturer's room-size chart. If your room has a glass door or a large window, add 10 to 15 percent to the heater size because glass loses heat faster than wood.
The third mistake is no ventilation. A sealed box with a heater inside will build up humidity, feel stuffy, and take longer to heat. The two-vent loop is not optional.
The fourth mistake is ignoring clearance to combustibles. Every heater has a minimum distance from its outer surface to any wood, bench or wall. Violating it is a fire risk and will void the heater warranty. Read the manual before you set the heater in place, and build your bench layout around the clearance, not the other way around.
The fifth mistake is using the wrong wood. Pine, fir and spruce with visible knots will weep sap at 175°F and above. The sap drips onto your legs and onto the heater stones. Stick to clear-grade cedar, aspen, alder or Nordic spruce.
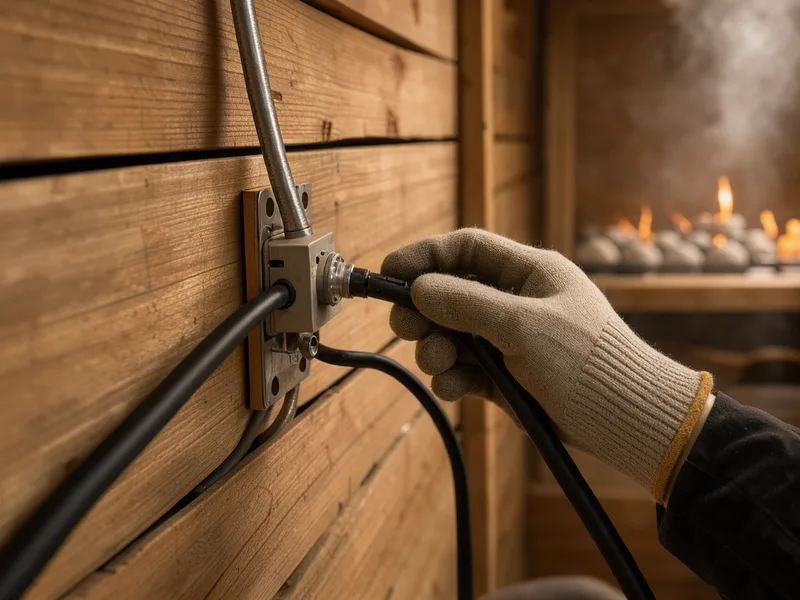
Hire a pro for the wiring
Your sauna heater needs a dedicated 240V circuit. A 6 kW heater draws about 25 amps, so it needs a 30A breaker and 10-gauge wire. A 9 kW heater draws about 37.5 amps, so it needs a 40A breaker and 8-gauge wire. The National Electrical Code (NEC) Article 424 covers fixed electric space-heating equipment, and most jurisdictions require a permit for a new 240V circuit.
What the electrician does: run the wire from your panel to the sauna location (through walls, under floors or along the garage ceiling, depending on your layout), install the breaker, mount the heater's junction box, and connect the heater's leads. If you are building in a basement or garage, the electrician will also check that the circuit is on a GFCI-protected branch if your local code requires it for damp locations.
Get the permit yourself if your jurisdiction allows homeowner permits, but have the electrician pull it if you are not sure. The inspection is quick once the work is done, and skipping it can cause problems when you sell the house.
Common questions before you start
How long does a DIY sauna build take?
A 6 by 4 foot room takes most DIYers 40 to 80 hours of hands-on work spread over two to four weekends, depending on your carpentry speed and how careful you are with the paneling. The electrician visit is usually a half-day.
Can I build a sauna in a bathroom?
Yes, and it is one of the most common placements. You already have the plumbing, the ventilation path, and often the 240V circuit if you have a dryer nearby. The main constraint is space: a bathroom sauna needs to be at least 4 by 4 feet interior to be usable, and you need to keep the heater's clearance to combustibles away from the tub, toilet and any stored towels.
Do I need a permit to build a sauna?
The structure itself usually does not need a building permit if it is under 120 square feet and not a separate outbuilding. The 240V electrical circuit almost always does. Check with your local building department before you start framing.
What is the cheapest way to build an indoor sauna?
A small room (4 by 4 feet), standard SPF framing, mineral wool insulation, and aspen paneling (cheaper than cedar) keeps material costs low. The heater and electrical work are the fixed costs you cannot cut. A basic 4 by 4 foot build with a 4.5 kW heater and a 30A circuit typically runs $2,000 to $4,000 in materials plus $300 to $600 for the electrician, though prices vary widely by region and lumber market.
Can I use a portable infrared panel instead of a heater?
Infrared panels are not a substitute for a sauna heater in a traditional build. They heat your body directly rather than heating the air, so the room never reaches the 175 to 200°F range that makes löyly possible. If you want steam, you need a convection heater with stones. If you want a lower-temperature, lower-power option, an infrared cabin is a different product category, not a cheaper version of the same thing.
What wood should I avoid?
Avoid any softwood with visible knots (pine, fir, white spruce) because they weep sap at sauna temperatures. Avoid treated lumber inside the room; the chemicals off-gas when heated. Avoid hardwoods like oak or maple for benches and paneling; they get hot enough to burn bare skin.